Black sesame and coconut mochi: A joy to make and a treat to eat
It’s time to get dusting and rolling, because Becky Krystal is making the chewy rice dessert known as mochi
To say I am persistent would be an understatement. Stubborn is more like it, which is not a bad thing when it comes to mastering a recipe, especially one I plan on sharing with you.
So when my first batch of black sesame and coconut mochi from Hetty McKinnon’s new book, the beautiful and approachable To Asia, With Love, wasn’t quite as pretty as the little snowballs on the page, I went back to it. Again and again.
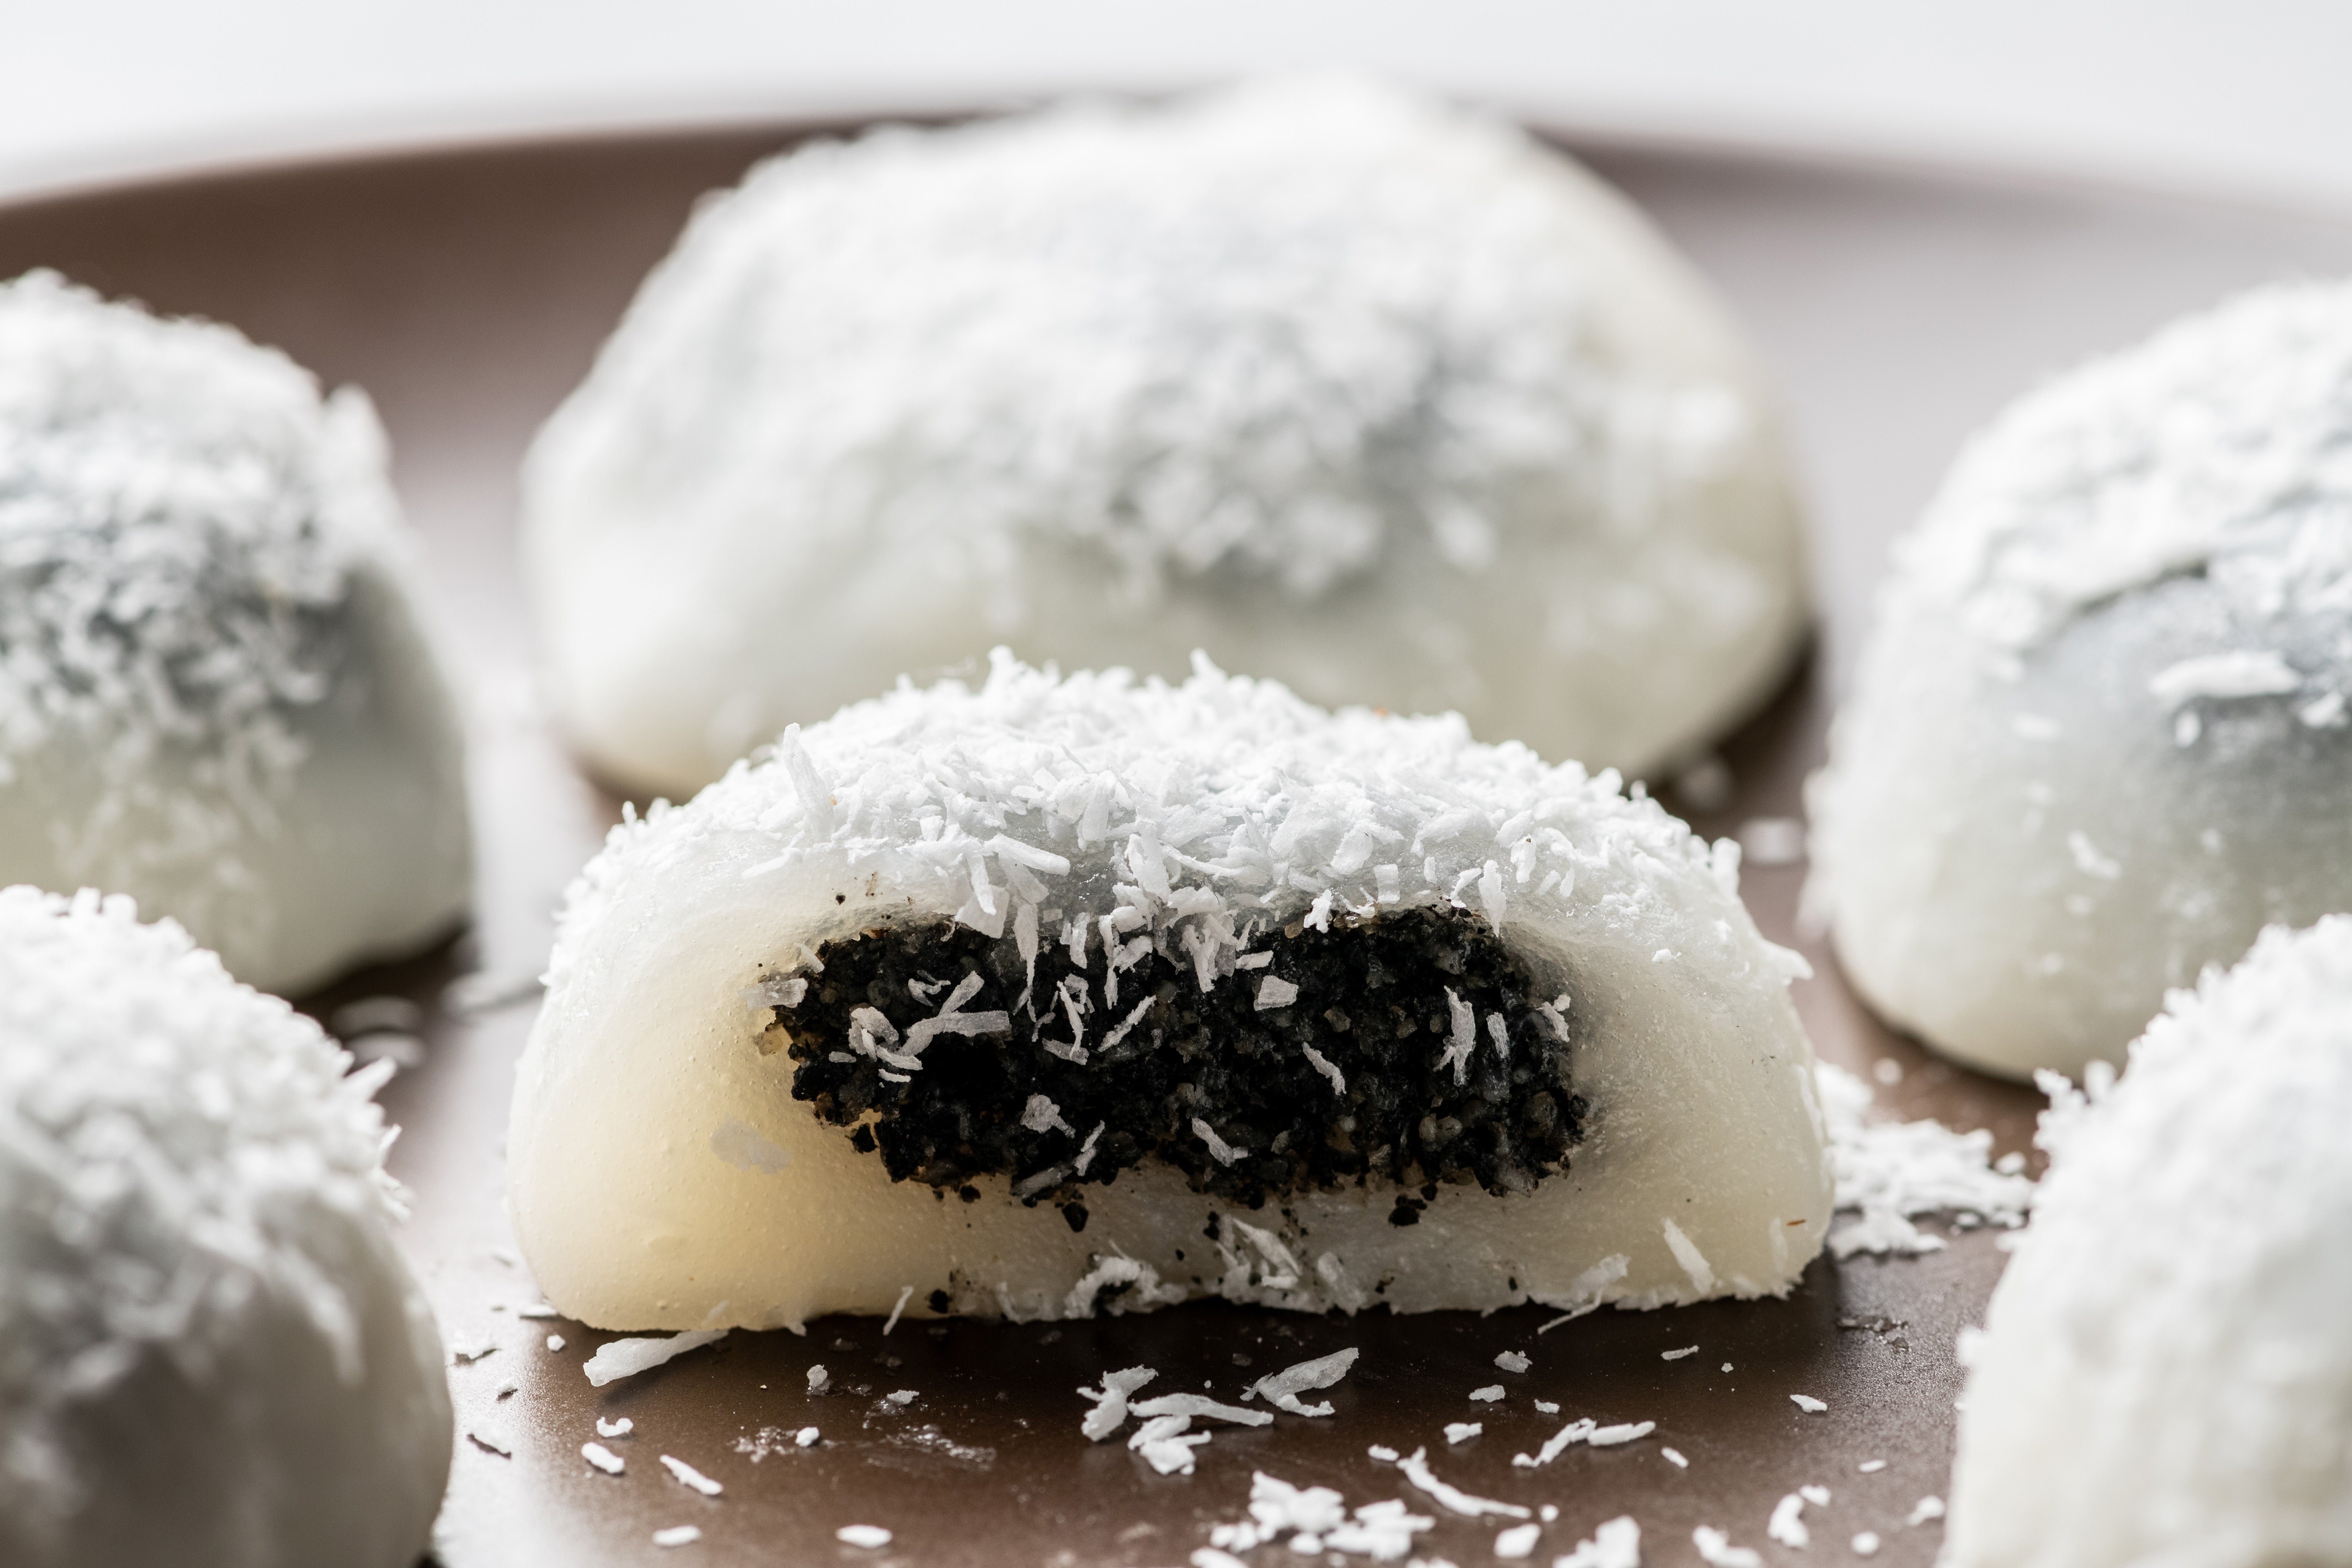
Not quite like bread dough but not your standard cookie dough either, mochi is a class in itself. Made with glutinous rice flour, this dough is hydrated and heated so that the starches absorb water, swell and burst. (The traditional method involves steaming and pounding cooked rice.) The result is a sticky dough that can be rolled and moulded around a variety of fillings. While McKinnon grew up eating the Cantonese version known as lo mai chi, filled with red bean paste or peanut and coconut, here she uses the name for the popular Japanese treat. Her rendition is stuffed with a not-too-sweet mix of ground black sesame seeds, coconut cream and desiccated coconut. It’s just the right balance of sweet and savoury, satisfying and restrained.
Read more:
Turns out, making them is a bit of a balancing act, too. It’s the kind of recipe that requires attentiveness but not a lot in the way of advanced skills or equipment. I hesitate to call it a project, because that almost seems off-putting, though you’ll want to set aside about an hour, clear off the counter and, if desired, recruit a few eager helpers (dare I say kids, especially if you’re not worried about appearances).
Here are a few of my keys to success:
- Pay attention. Making the dough on the stovetop requires constant stirring to prevent burning and to ensure that the glutinous rice flour (I bought mine at my regular supermarket) thickens evenly. It will look like nothing is happening until it does, quickly. I had the best luck on my electric cooktop on medium-high heat, but if yours runs hotter, you may wish to use medium. Adjust as needed.
- Rolling the dough into the mochi balls requires the dough to be warm enough to be malleable and adhere to itself but not so hot that you burn yourself or end up with an amorphous mass. If it’s too cool, it won’t form neat balls, either. Let the dough cool on the counter for a few minutes, but try to work with it while it’s still fairly warm, keeping in mind it will continue to cool as you go. If you’re worried about speed, cut only a quarter or half of the dough at a time – smaller pieces will cool faster.
- Similar to temperature, you want the right balance when it comes to the cornstarch. Too much on the board, dough or your hands, and the dough will dry out and not adhere to itself. Too little and it sticks like the dickens. Apply an even layer to the board, a little less on top of the dough and a light dusting on your hands when shaping, reapplying as needed. It may take one or two mochi to figure it out by touch, and that’s OK. I’ve done my best to coach you, but there’s no substitute for getting the feel of it yourself. Remember, even homely mochi will taste fantastic.
- If you’ve never made fresh mochi and bite into one only to find that it’s chewy and gelatinous… you’ve nailed it! It can be a whole new sensation for anyone who has only had the frozen ones filled with ice cream, but know that these mochi are different. I’m a huge fan of the squishy texture, though not all my tasters were. The sceptics were all won over after freezing, which you’ll need to do anyway after 24 hours. After a day, the mochi lose their shape and springiness.
Black sesame and coconut mochi
12 servings (makes 12 mochi)
Total time: 1 hour
If you’re already a fan of the delightfully soft and squishy treat, you’ll love this not-too-sweet rendition of mochi. If not, it will win you over. McKinnon says the dessert may seem daunting to make, but in reality it’s a fun, approachable project involving wrapping dough around a filling.
To make superfine sugar, process granulated sugar (use slightly more than the recipe calls for, around 190 grams) in a food processor until it is more finely ground. Take care not to turn it into powdered sugar.
Pro tip: Heat gelatinises the starches in the rice flour and turns them quite gluey, so it’s preferable to wash your equipment with cold water. Let soak first for easier cleaning.
Storage notes: The mochi are best eaten immediately, but they can be stored in an airtight container at room temperature for up to 24 hours. After that, store in the freezer and eat frozen for up to 1 month.
Where to buy: Black sesame seeds and glutinous rice flour are available at well stocked supermarkets, Asian markets and online. If you find roasted seeds, skip the toasting step.
Ingredients
For the filling:
75g black sesame seeds (may substitute white sesame seeds; see headnote)
1tbsp superfine sugar (see headnote)
3tbsp coconut cream (not cream of coconut)
1tbsp desiccated coconut
Pinch sea salt
For the dough:
150g glutinous rice flour (sweet rice flour, such as Mochiko brand)
300ml water
170g superfine sugar (see headnote)
Cornstarch, for dusting
3tbsp desiccated coconut, for rolling
Method
Make the filling: in a medium frying pan over a low heat, toast the sesame seeds, shaking occasionally, just until aromatic, 4 to 5 minutes (they can burn in a second). Transfer to a plate or bowl and let cool. (Skip this step if you’ve bought roasted seeds.)
Transfer the toasted sesame seeds and 1 tablespoon of the superfine sugar to a food processor or blender and process until finely ground and well combined. You may still see some flakes of the sesame seeds; they won’t break down all the way. Transfer the mixture to a small bowl. Add the coconut cream, desiccated coconut and salt, and stir well to form a thick paste, mashing the coconut cream as you stir to ensure it’s fully incorporated.
Make the dough: in a medium bowl, whisk together the rice flour and water. Pour the mixture into a fine-mesh strainer set over a medium saucepan, using a flexible spatula to press it through and into the pan. Stir in the superfine sugar. Place the saucepan over medium-high heat and, using a flexible spatula, stir constantly until you have a very sticky blob of dough, 6 to 8 minutes. Scrape the bottom and sides of the pot as you stir to prevent scorching. At first it will look like nothing is happening, and then it will thicken very quickly. You’ll know you’ve reached the right point when stirring feels like a real workout, with the dough putting up lots of resistance. Remove from the heat.
Place a sheet of parchment paper on a cutting board and sprinkle with cornstarch – you want an even layer to prevent sticking but not so much you dry out the dough immediately. Tip the dough onto the paper and allow to cool slightly for a few minutes. Too hot and the dough will be too loose to shape, but too cool and it won’t be firm enough to form into neat balls. It should still be fairly warm to the touch. Keep in mind it will continue to cool after cutting and as you work your way through the batch.
Sprinkle the top of the dough lightly with more cornstarch. Cut the dough into 12 equal pieces, ideally with a bench scraper (it can be easier to visualise if you cut the round into fourths and then divide each of those into thirds).
Sprinkle the desiccated coconut onto a plate or shallow dish.
Read more:
Dust your hands with a little cornstarch before handling the sticky dough (an excessive amount will dry out the dough too much and make forming the balls harder). Roll a piece into a ball, then flatten into a disc 6cm to 7cm wide. The dough should be soft and malleable. Place about 1½ teaspoons of the filling in the centre, then pull the sides up and over the filling, pinching and twisting to seal the dough.
It can help to flip the round seam side down to form it into a neater ball. Roll the mochi in the coconut, pressing a little to help it adhere, reshaping the ball as needed. If your hands are feeling sticky, just dust again with cornstarch. Repeat with the remaining dough and filling (you may have a little filling left over, which can be stirred into yoghurt or oatmeal). Work as quickly and confidently as you can so the dough doesn’t get too cold.
Serve immediately.
Nutrition (per mochi, based on using 2/3 of the filling and 1 tablespoon of coconut for rolling) | Calories: 131; total fat: 5g; saturated fat: 1g; cholesterol: 0mg; sodium: 17mg; carbohydrates: 21g; dietary fibre: 1g; sugar: 13g; protein: 2g.
Adapted from ‘To Asia, With Love’, by Hetty McKinnon (Prestel, 2021).
© The Washington Post
Subscribe to Independent Premium to bookmark this article
Want to bookmark your favourite articles and stories to read or reference later? Start your Independent Premium subscription today.
Join our commenting forum
Join thought-provoking conversations, follow other Independent readers and see their replies